Recently I’ve been wanting to write more. I’m just starting as a writer, but I have a lot of experience as a software developer, so a tech blog seemed like a natural fit. I like simplicity—in software and in life—so I wanted to keep the tools that I use to a minimum. I use Vim daily to work on software, so I started using it for writing too. But it didn’t take long to realize that my Vim setup for development wasn’t suited to writing. I spent some time working on my Vim configuration and now I have a serviceable tool for writing.
Vim isn’t perfect for writing though. If you want the best writing experience, look elsewhere. But you can make Vim a nice tool for writing. In this article I’m going to go over my Vim configuration and talk about how I keep it separate from my development setup.
Side note: I use Neovim but everything in this article should work for regular Vim as well.
Goyo
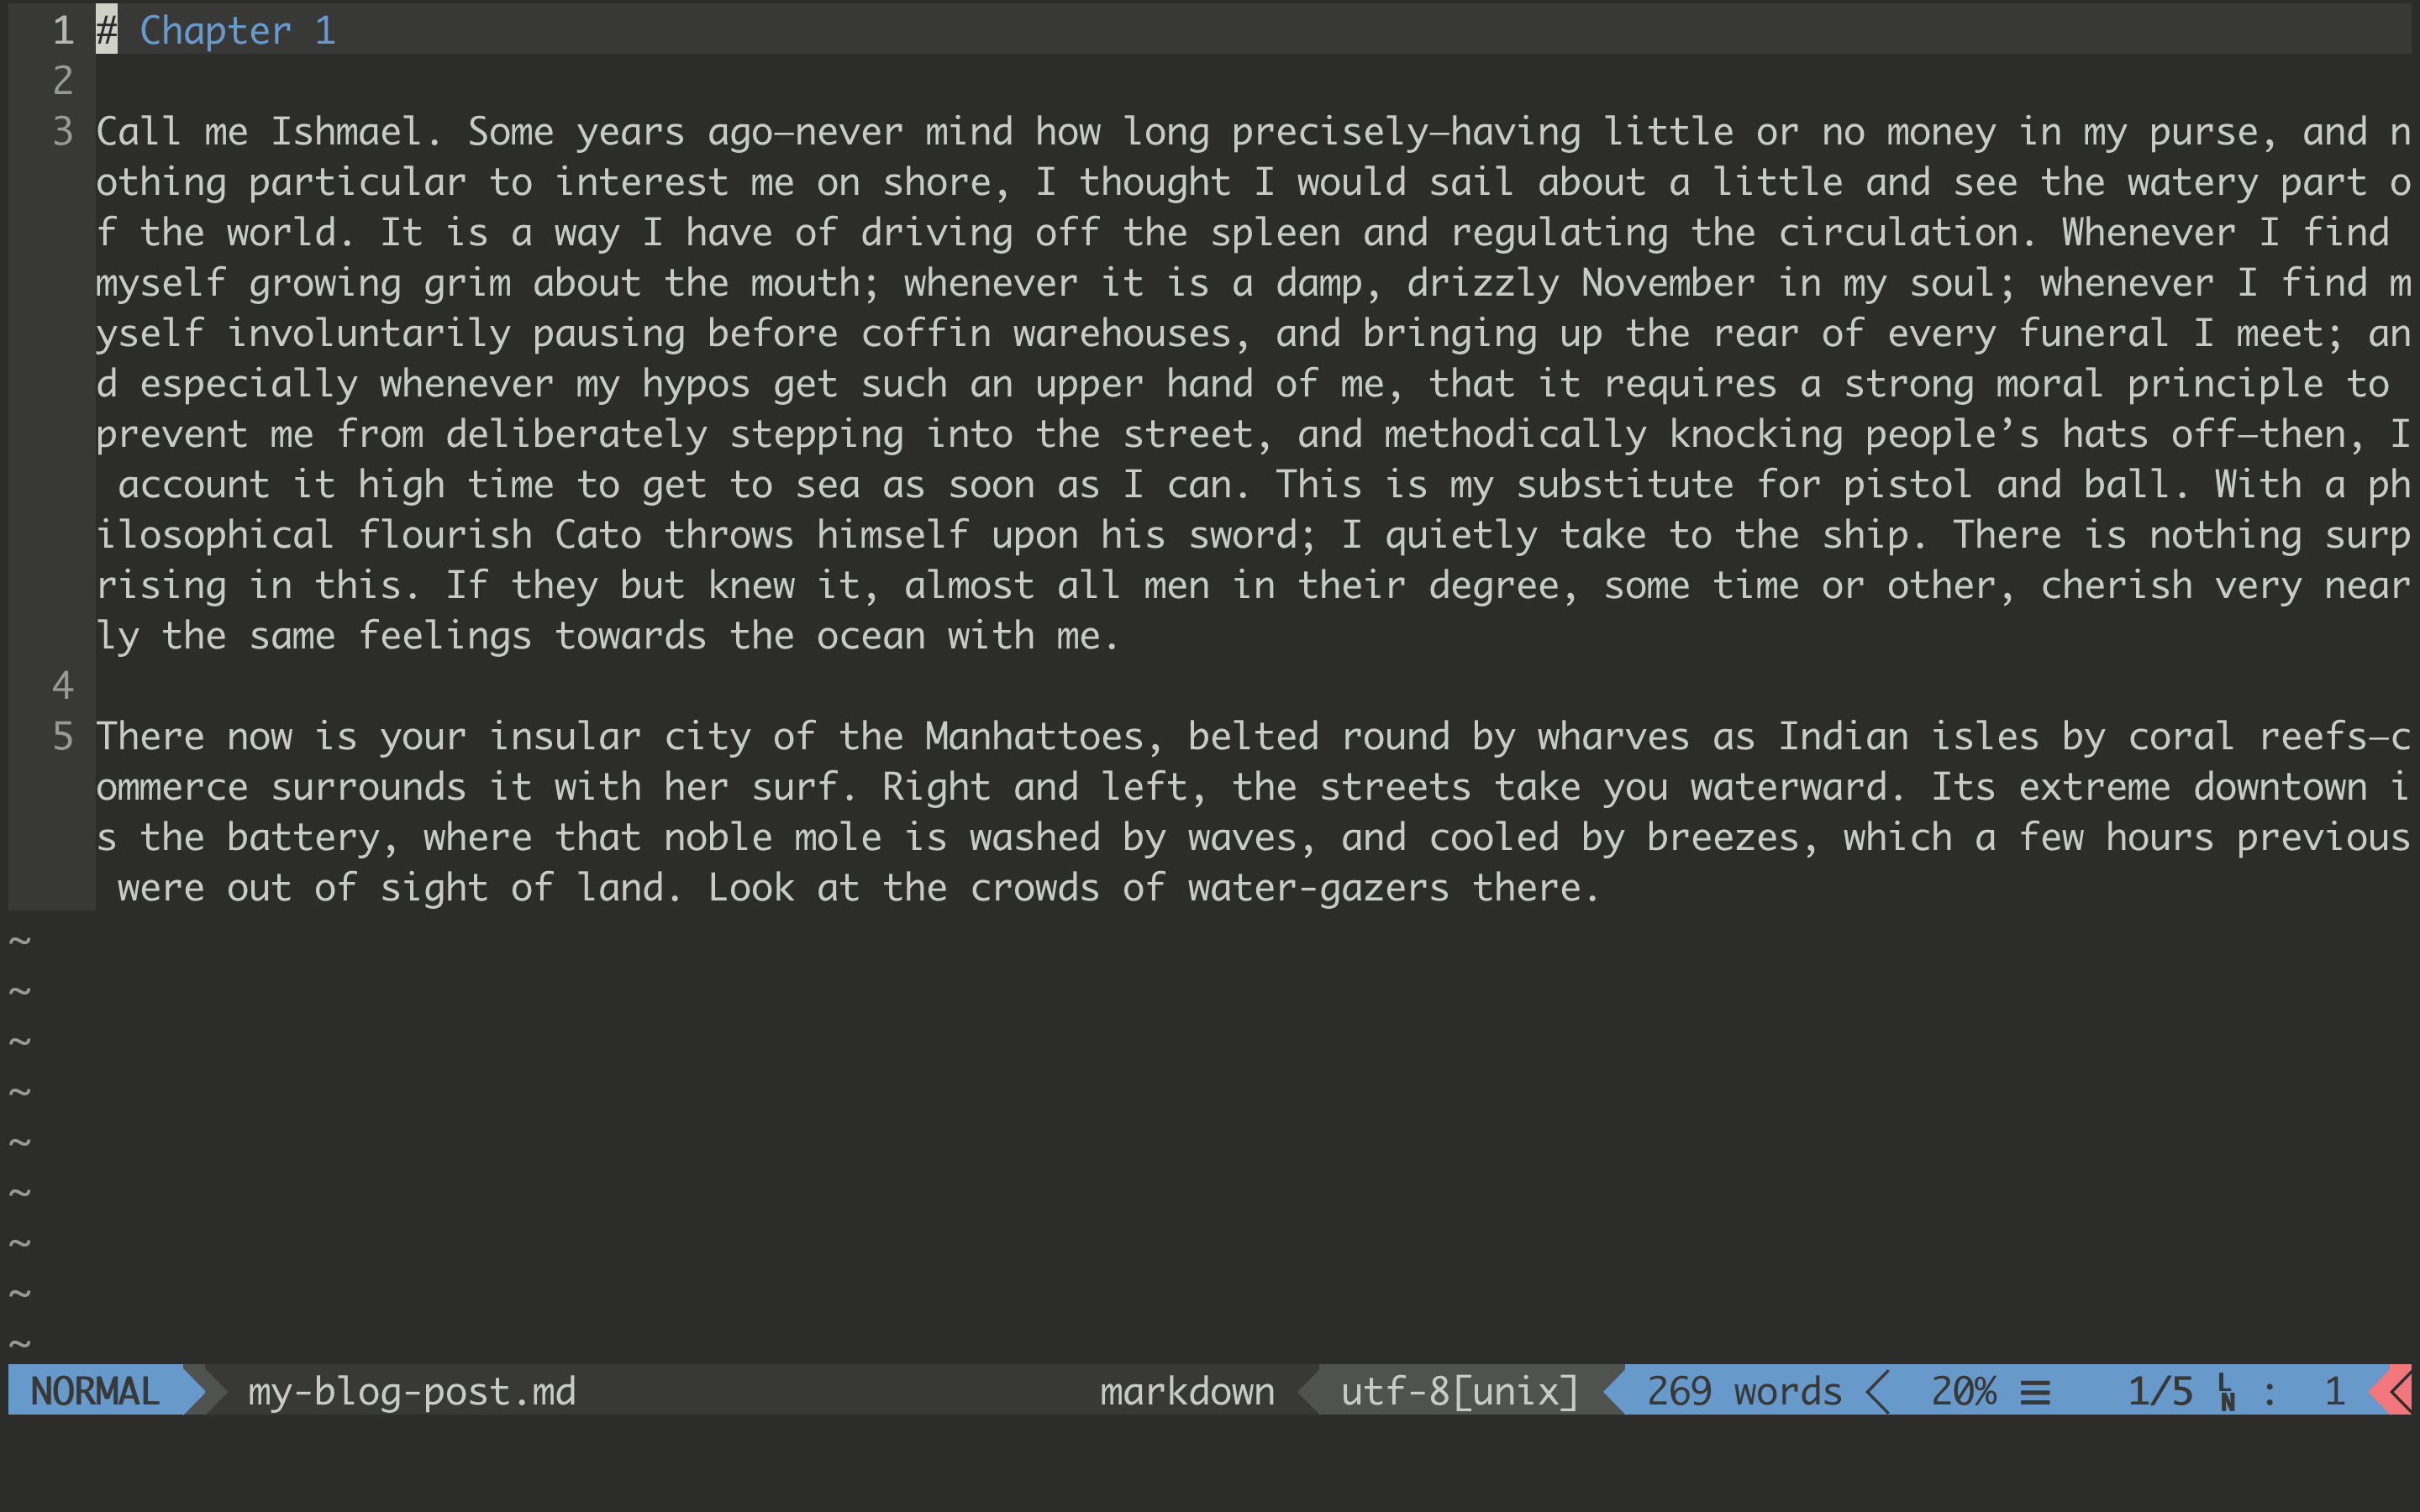
My Vim configuration for writing is centered around Goyo. This fantastic plugin does 90% of the work involved in getting a good writing experience. It turns the writing experience from this:
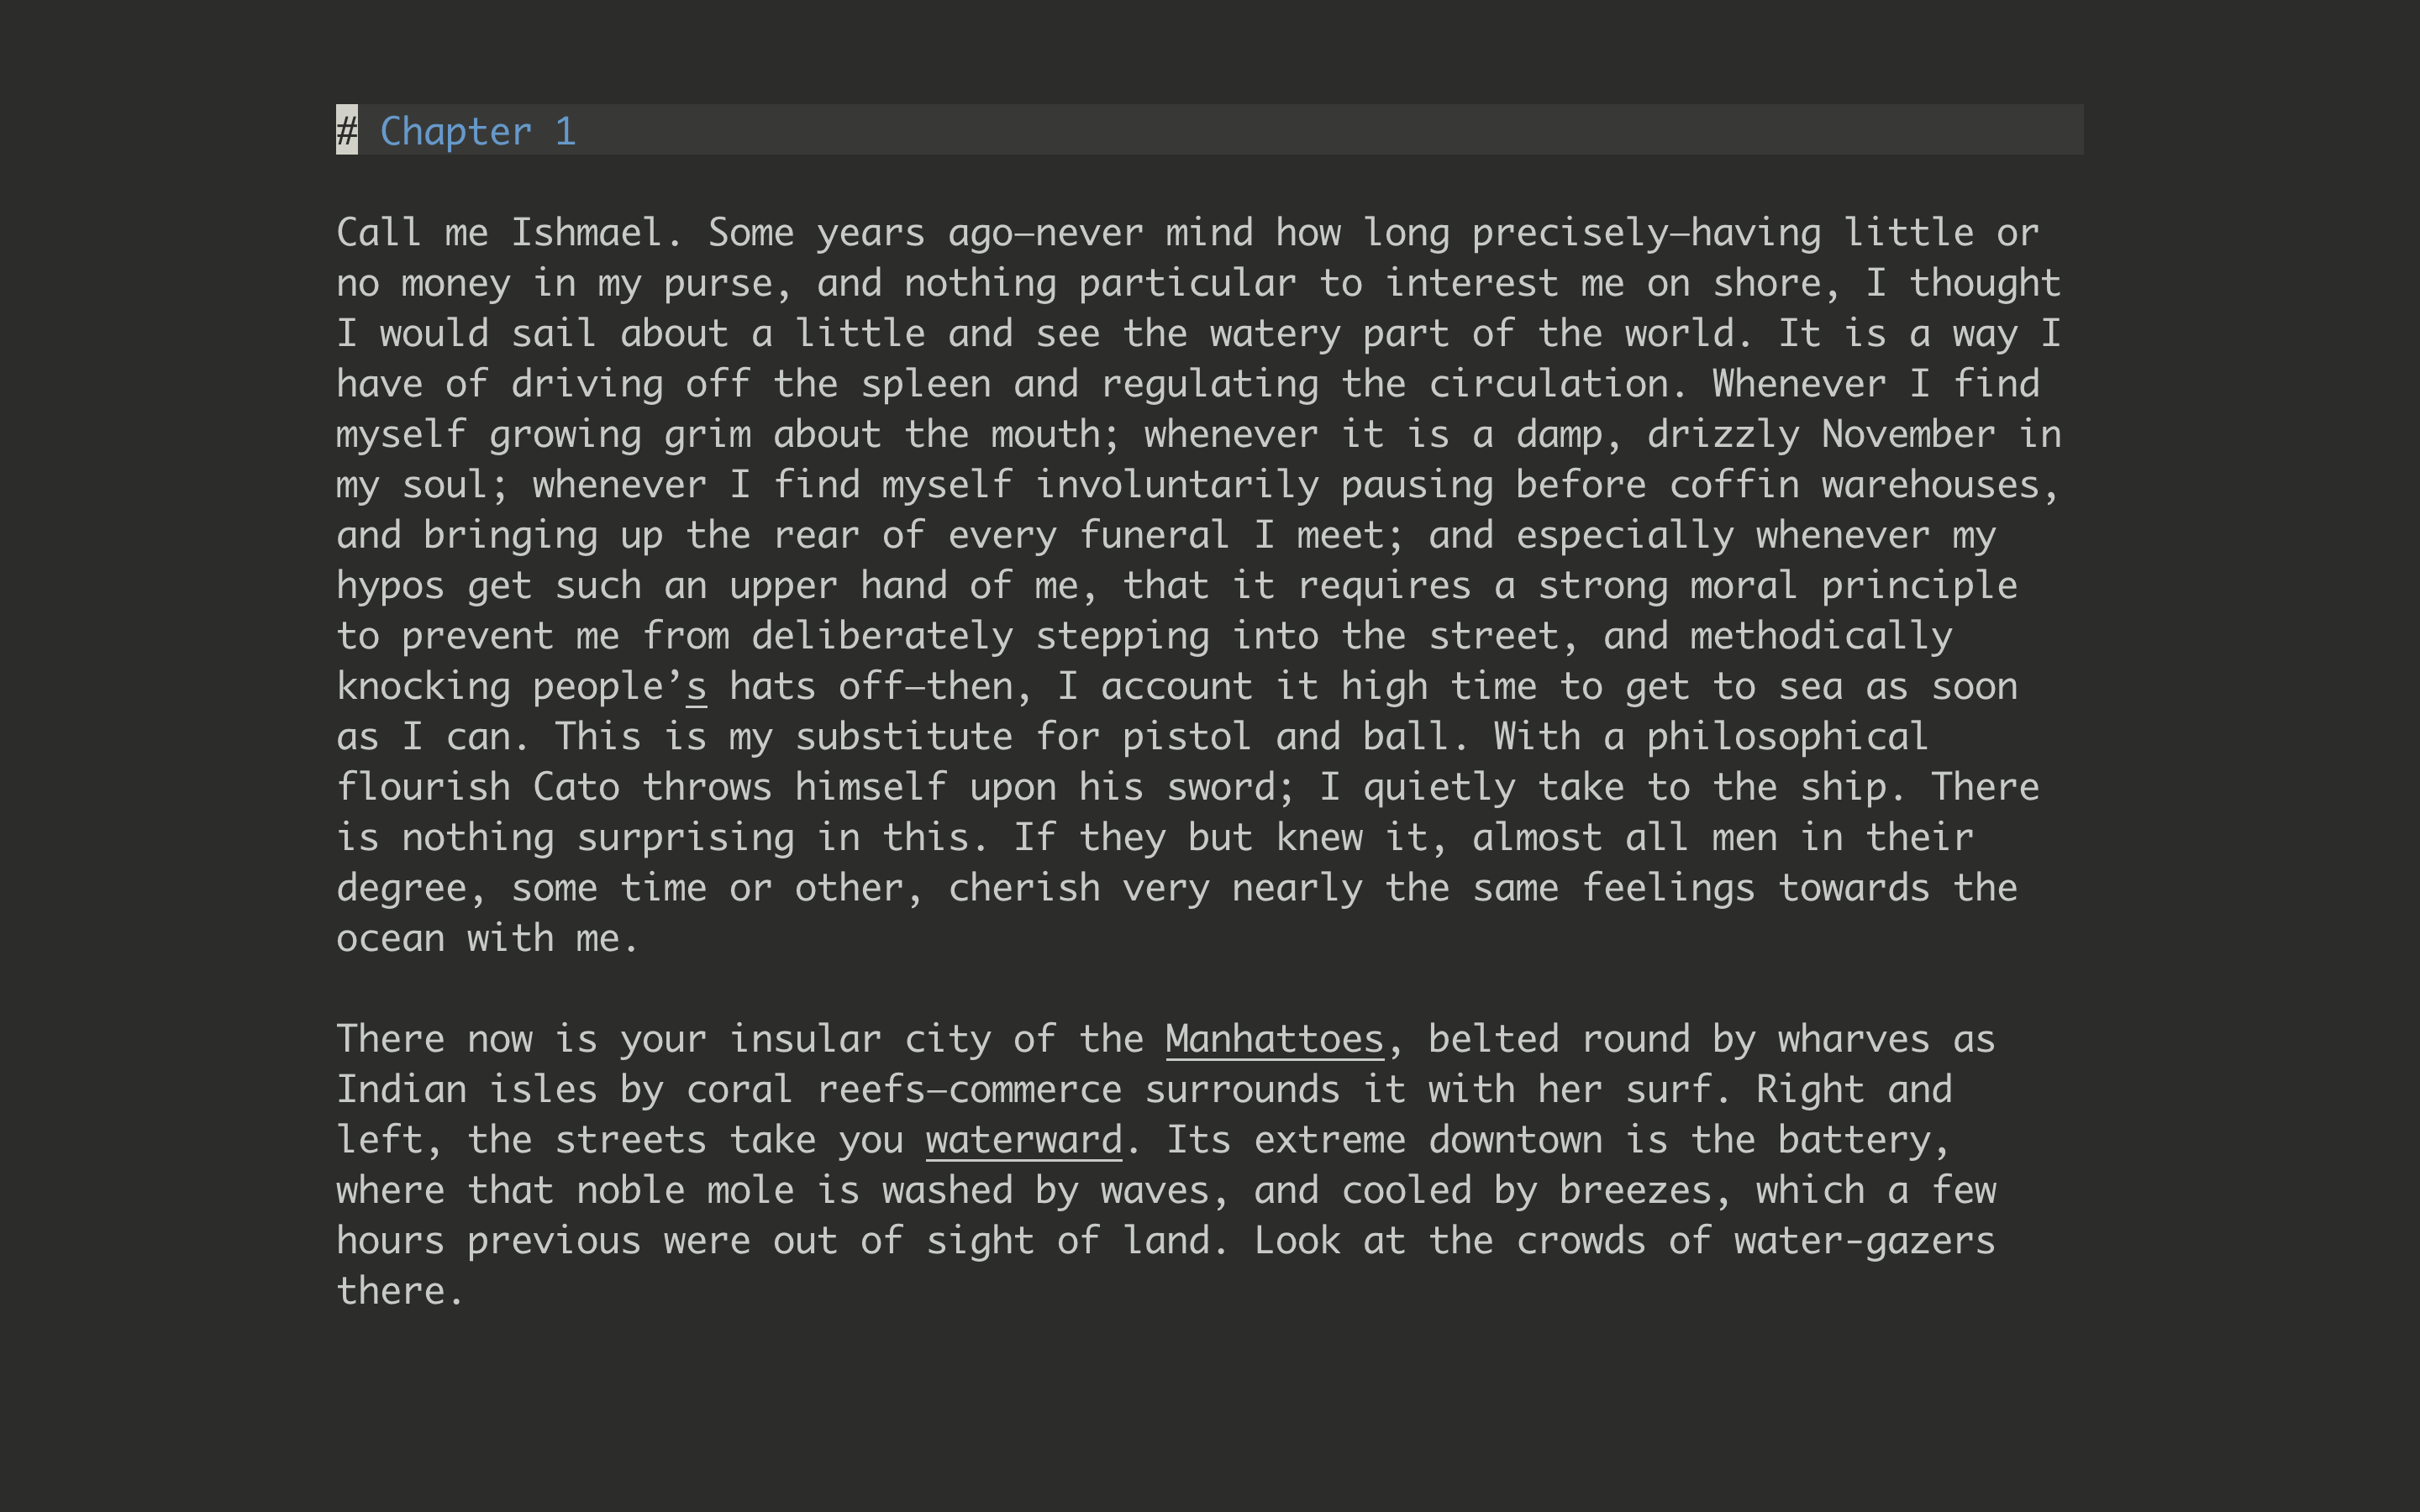
To this:
Once you install the plugin, type :Goyo to start it. After that, typing :w will save your file but :q will only quit Goyo. You have to type :q again to quit Vim.
For the most part, you just need to install Goyo and forget about it. It does a great job with the defaults. You can set the width and height to fit your monitor like this:
1
2
let g:goyo_height='80%'
let g:goyo_width='80%'
After that, the only thing that you should configure are the hooks. Goyo’s hooks allow you to have custom Vim settings that turn on and off when you start and exit the plugin.
Hooks
You can define settings in your .vimrc to be set when you start or quit Goyo. The code looks like this:
1
2
3
4
5
6
7
8
9
10
11
12
function! s:goyo_enter()
  set linebreak
  set spell spelllang=en_us
endfunction

function! s:goyo_leave()
  set nolinebreak
  set nospell
endfunction

autocmd! User GoyoEnter nested call <SID>goyo_enter()
autocmd! User GoyoLeave nested call <SID>goyo_leave()
Whatever is inside those two functions will be called when you start or quit Goyo. I use these hooks to set two Vim options that I normally leave turned off while developing: line breaks and spell checking.
Line Breaks
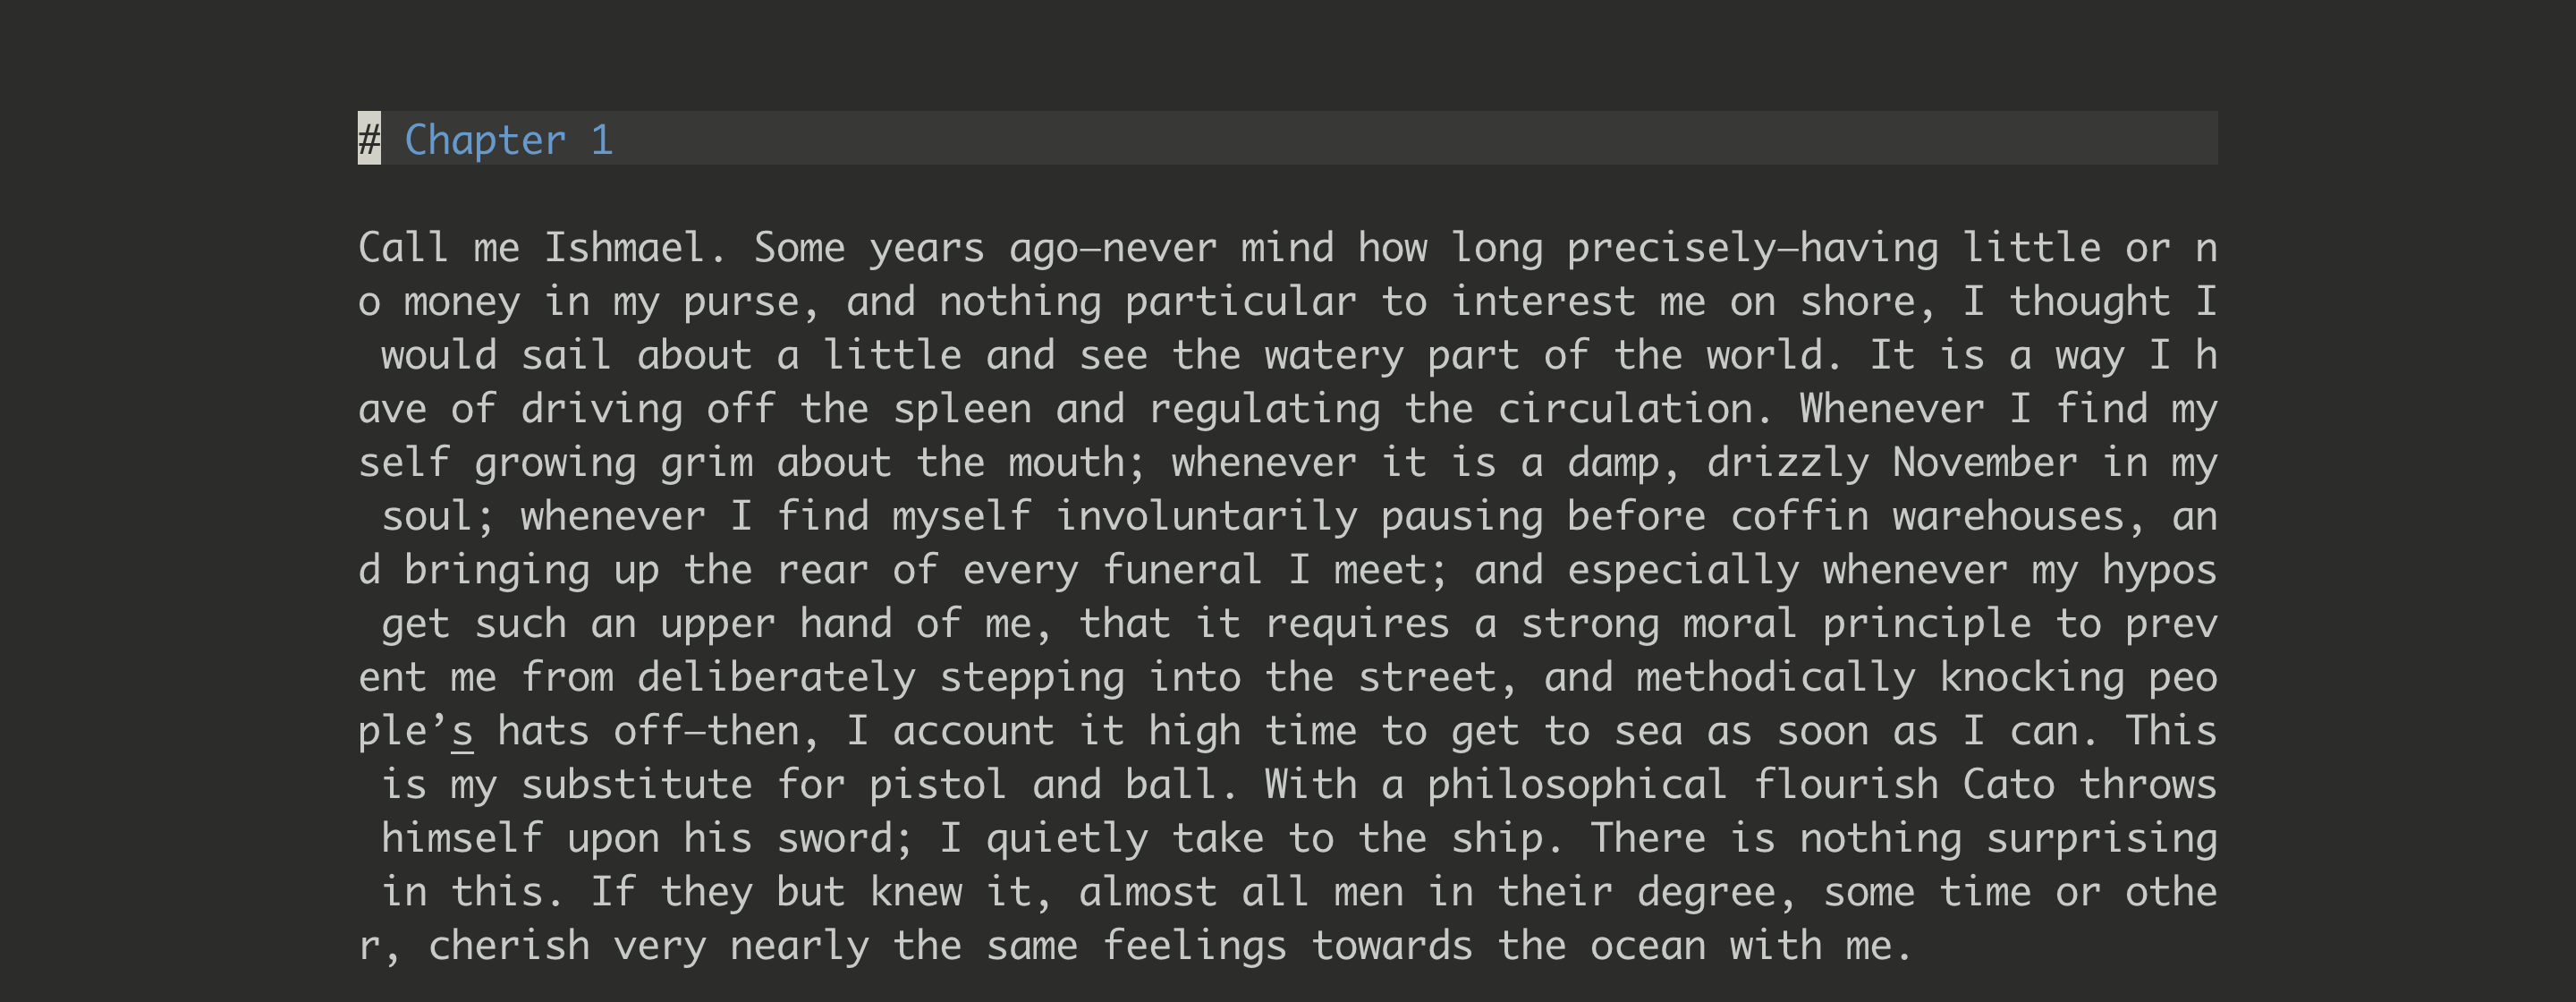
When you’re working on code in Vim, if usually makes sense to leave linebreak turned off with set nolinebreak. When writing, however, this makes it vastly easier to read your text.
Compare this text when line break is turned off:
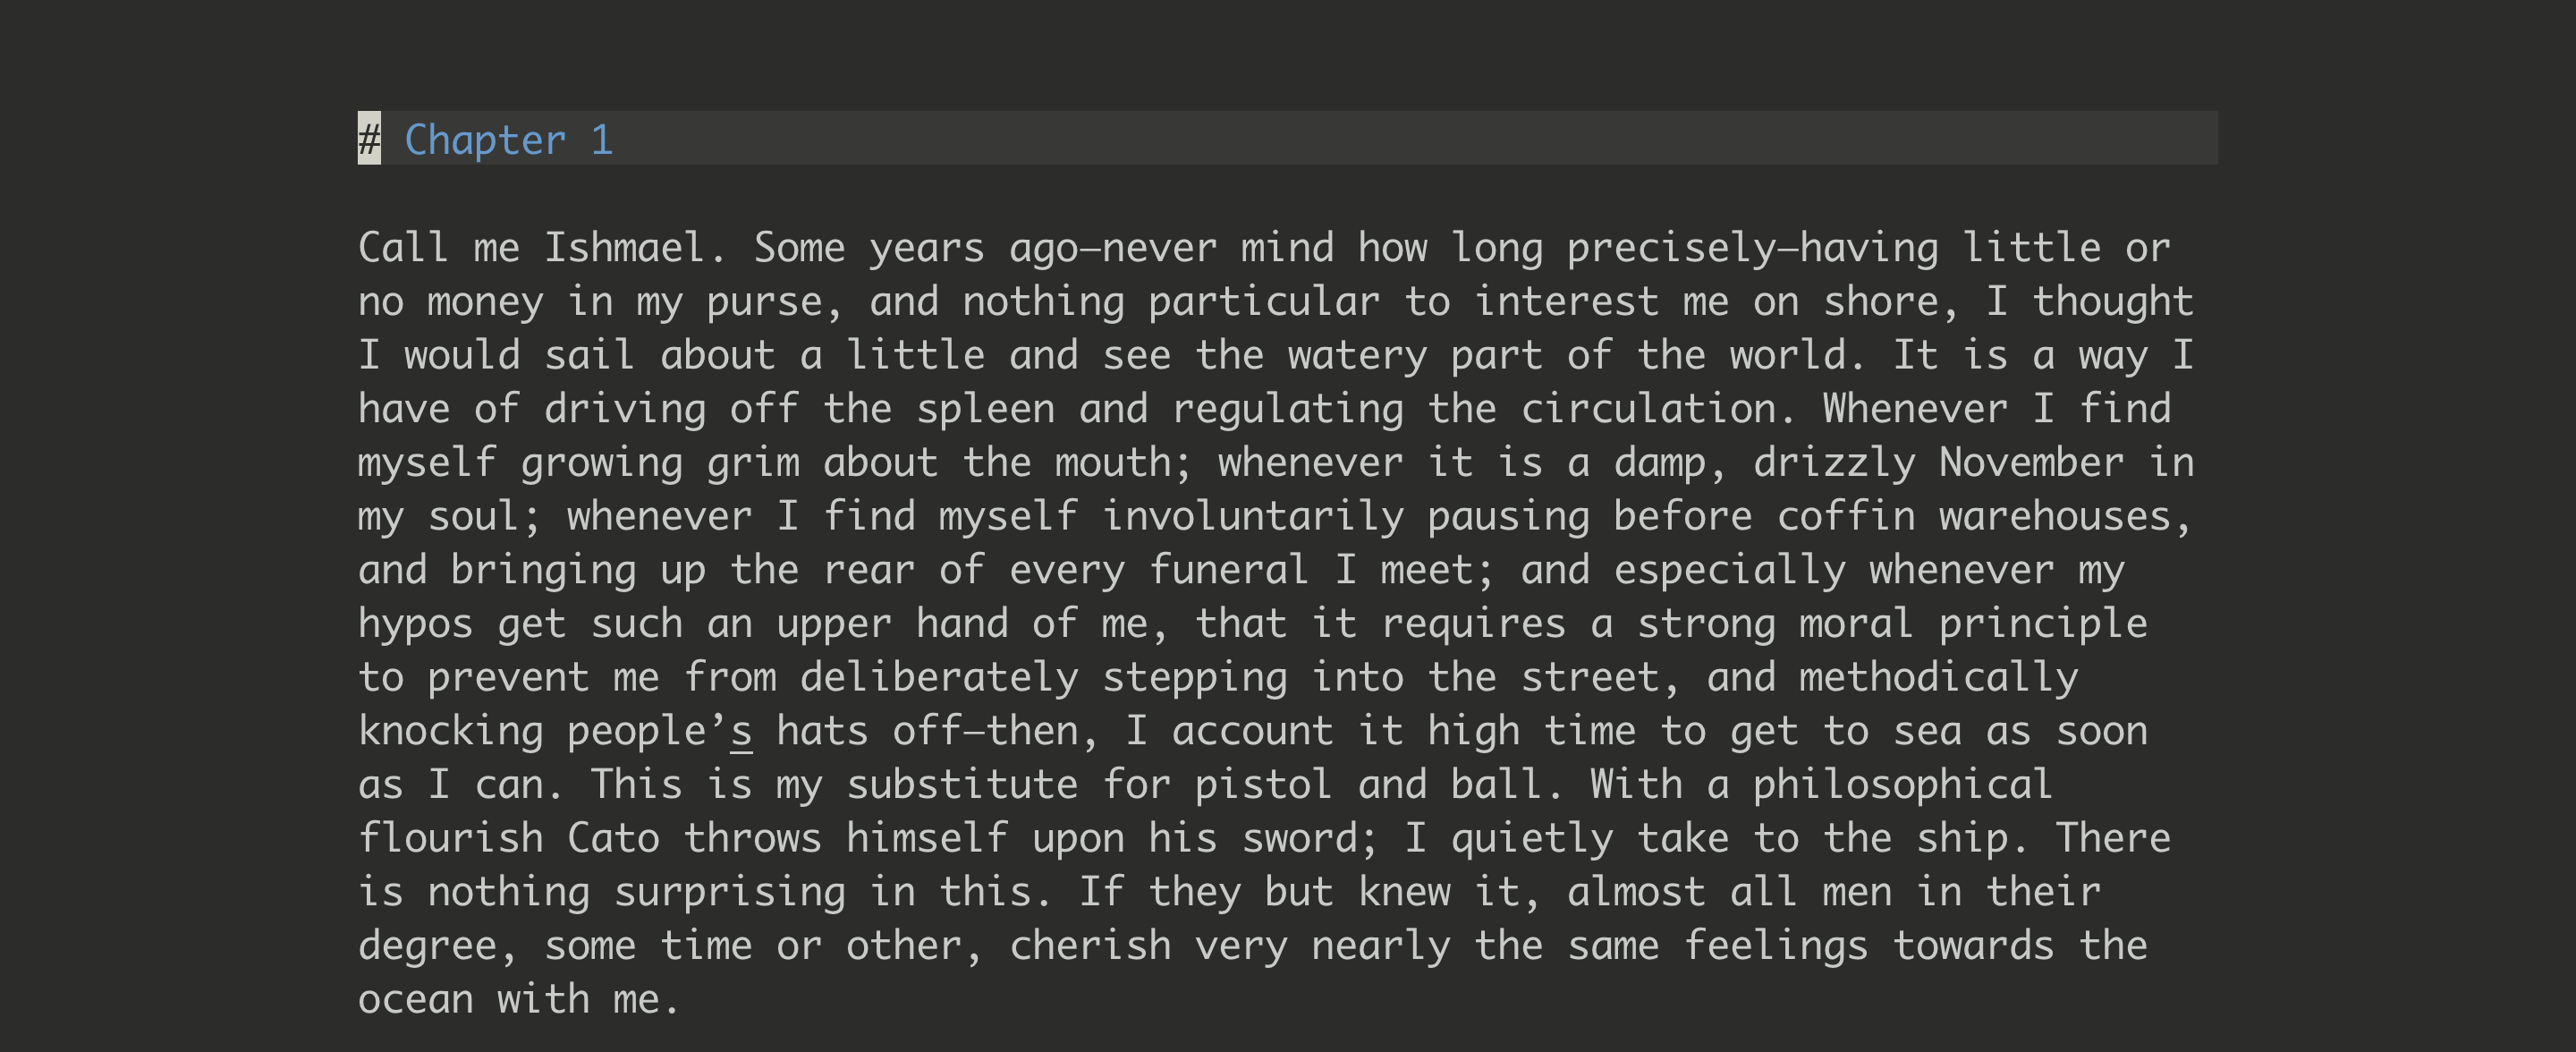
With this text when line break is turned on:
Again, I normally leave line break off for code, so I disable it when quitting Goyo.
Spell Checking
Did you know that Vim has a spell checker built in? You need to learn a few basic commands and then you just have to maintain your dictionary over time. The configuration to turn spell checking on is:
1
set spell spelllang=en_us
Once you turn this on, you will notice that misspelled words are underlined or highlighted, depending on your theme. You will also have some handy Vim commands at your fingertips:
]sGo to the next misspelled word[sGo to the previous misspelled wordzgMark the word under your cursor as “good”—spelled correctlyzwMark the word under your cursor as “wrong”—misspelledzug/zuwUndo the above commands, but your cursor has to be on the same word
You should check out Vim’s help file on spell, as I’ve just scratched the surface:
1
:h spell
Wrap Up
I hope you have learned some tips to let you use Vim for writing. These tips are a collection of my personal preferences and things I find useful. If you want to customize Vim further, I hope you’ll be inspired to learn more about configuring Vim. These tips don’t make Vim the best writing tool you could possibly have, but if you’re a developer that values simplicity like me, I think you will be happy you tried them.